

 by
by How to Find and Display File Size in Windows Power Automate Desktop: A Step-by-Step Guide
If you’re using Windows Power Automate Desktop (WPAD) to create automation flows, you might need to find the size of a file as part of your process. In this blog post, we’ll walk you through a step-by-step guide on how to find the size of a file using a combination of actions in WPAD. By the end of this tutorial, you’ll be able to retrieve the file size and even display it in a more human-readable format.
Step 1: Create a New Flow or Edit an Existing One To get started, open Windows Power Automate Desktop and create a new flow or edit an existing one where you want to find the file size.
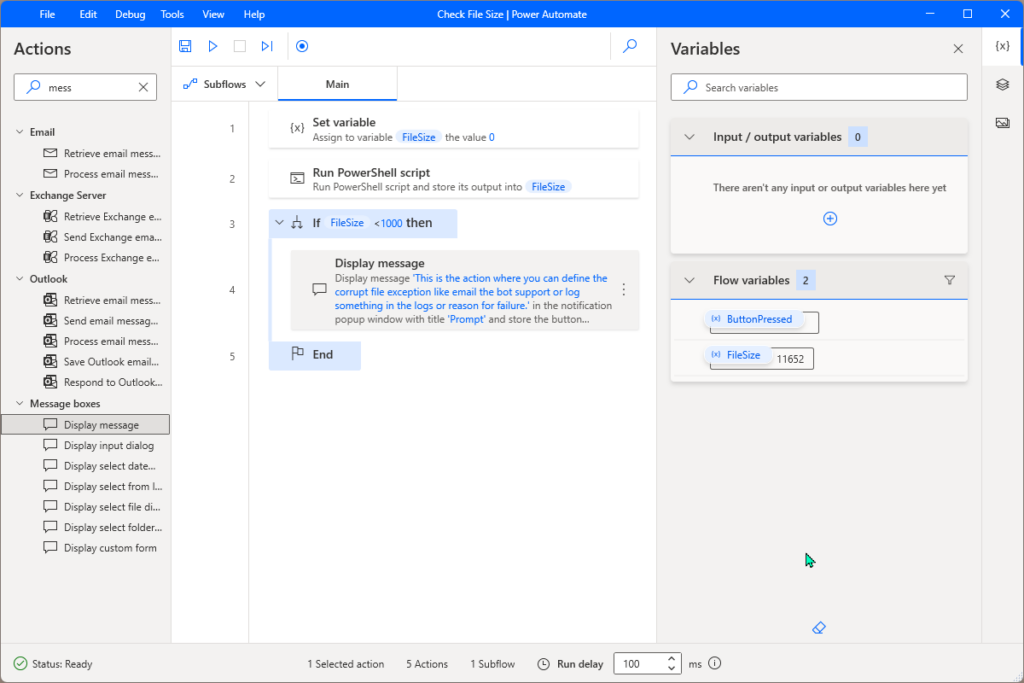
Step 2: Add the “Run PowerShell Script” Action To execute PowerShell commands within your flow, add the “Run PowerShell Script” action.
Step 3: Enter the PowerShell Command In the “PowerShell command” field of the “Run PowerShell Script” action, enter the following command, making sure to replace the file path with the actual path to the file you want to get the size of:
(Get-Item 'C:\Path\to\your\file.extension').Length
Step 4: Store the Output in a Variable In the “Output” section of the “Run PowerShell Script” action, click on “Add a variable” to store the output of the PowerShell command. Name the new variable “FileSize” (or any other name you prefer).
Step 5: (Optional) Display File Size in a Human-Readable Format If you want to display the file size in a more human-readable format, add another “Run PowerShell Script” action with the following PowerShell command:
$size = [math]::Round($env:FileSize / 1MB, 2)
"File size: $size MB"
This command converts the file size to megabytes (MB) and rounds it to two decimal places. Replace $env:FileSize with the actual variable name, you used in the previous step if it’s different.
Step 6: Save and Run Your Flow Save and run your flow. The file size will be stored in the “FileSize” variable, and you can use it in other actions within your flow.
At the end; in this blog post, we’ve shown you how to find and display the file size in Windows Power Automate Desktop using a combination of actions. By following these simple steps, you can easily incorporate file size information into your automation flows. Don’t forget to explore other capabilities of WPAD to make your workflows even more efficient.
Bonus Tip – You can check the file size and compare it with the minimum size of the file that you expect and catch an exception in which you generate or download a file using your bot but it turns out to be incomplete or corrupted.